dss-visual-edit
Building a complete application to test with end-users
As a first step, make sure to read the How to Use guide on the plugin’s presentation page.
Integrating edits in automation Scenarios
Remember that edits made via the webapp are not instantly reflected in the edits and edited datasets (only the editlog is updated in real-time).
We recommend creating the following automation Scenarios, which can be scheduled or triggered manually (by data experts from the Scenario environment, or by business users from a Dashboard if a Scenario tile was added):
- Commit Edits, to take the latest webapp edits into account in downstream pipelines and reports.
- Update Source, to take into account any changes or additional data from source systems.
- Note that this would not take any new edits into account: it would apply edits already integrated into the pipeline, on top of any changes to the updated source data.
- You would typically want to notify end-users via email if there is new data to review, via the use of Scenario Reporters.
- Reset Edits, for test purposes (only use this on a design node and remove when deploying).
Here is how to implement these Scenarios:
- Create a Build edited and downstream datasets Scenario. It simply consists in building the edited dataset in “Run recipes downstream” mode.
- Commit Edits:
- Build the edits dataset in “Force-build dependencies” mode (this forces execution of the Replay Edits recipe on the editlog).
- Run Build edited and downstream datasets.
- Update Source:
- Build the Original Dataset used by the webapp in “Build required dependencies” mode.
- Run Build edited and downstream datasets.
- Reset Edits should use the plugin’s Initialize editlog Scenario Step (found toward the end of the list of available Steps) and run the Commit Edits Scenario.
Lifecycle: handling updates to the original dataset
It is important to note the following on the behavior of the webapp and of the Apply Edits recipe (which produces the edited dataset):
- If a cell was edited, the edited value will override any updates made on the original dataset, even if they are posterior to the edit.
- Similarly, if a row was validated, the validated values from that row will override any updates made on editable columns of the original dataset, even if they are posterior to the validation.
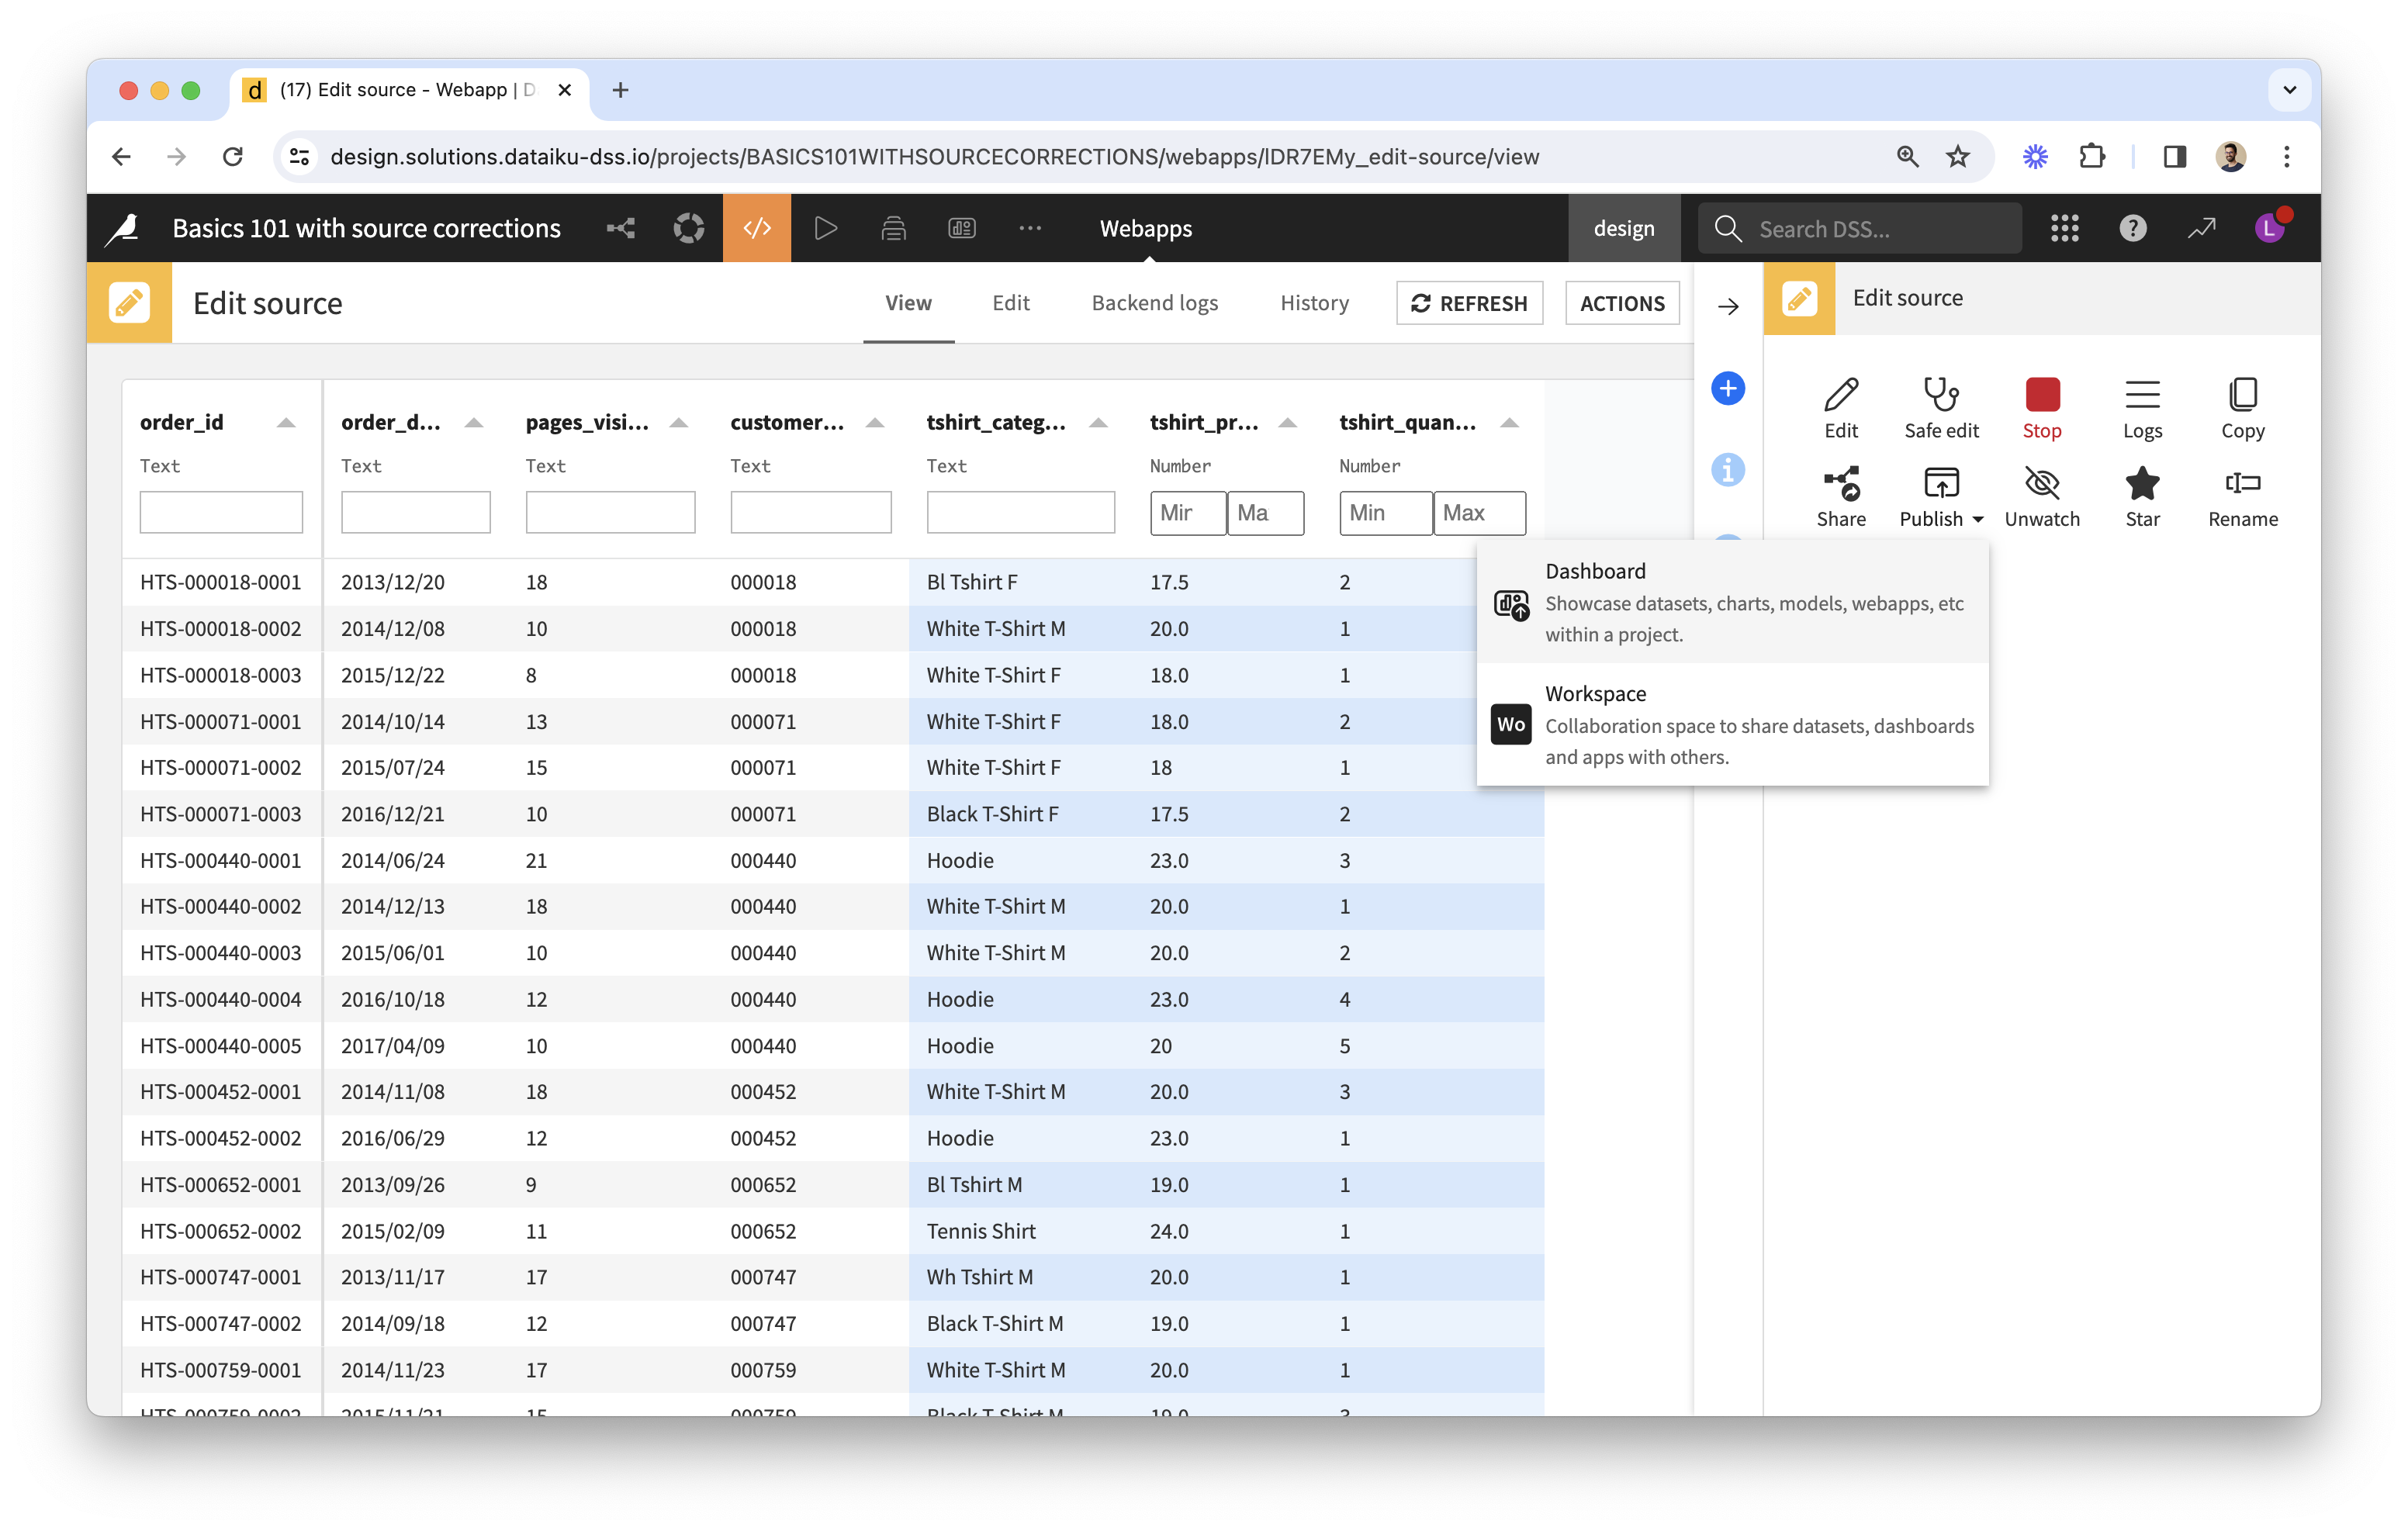
Publishing the webapp to a Dashboard
The best way to make the webapp accessible to business users is by publishing it to a Dashboard. There can be 2 separate Dashboards for Editing and for Reporting purposes (if their end-users are different), or there can be a single Dashboard with 2 pages.
- Editing Dashboard:
- From the Webapp view, click on the ACTIONS button of the menu in the top-right corner, to publish the webapp to a Dashboard.
- From the Dashboard view, you can add other “tiles” to the page, such as a Text tile with instructions on how to use the webapp, or a Scenario tile displayed as a button to run the Commit Edits Scenario discussed above. You can also adjust the layout.
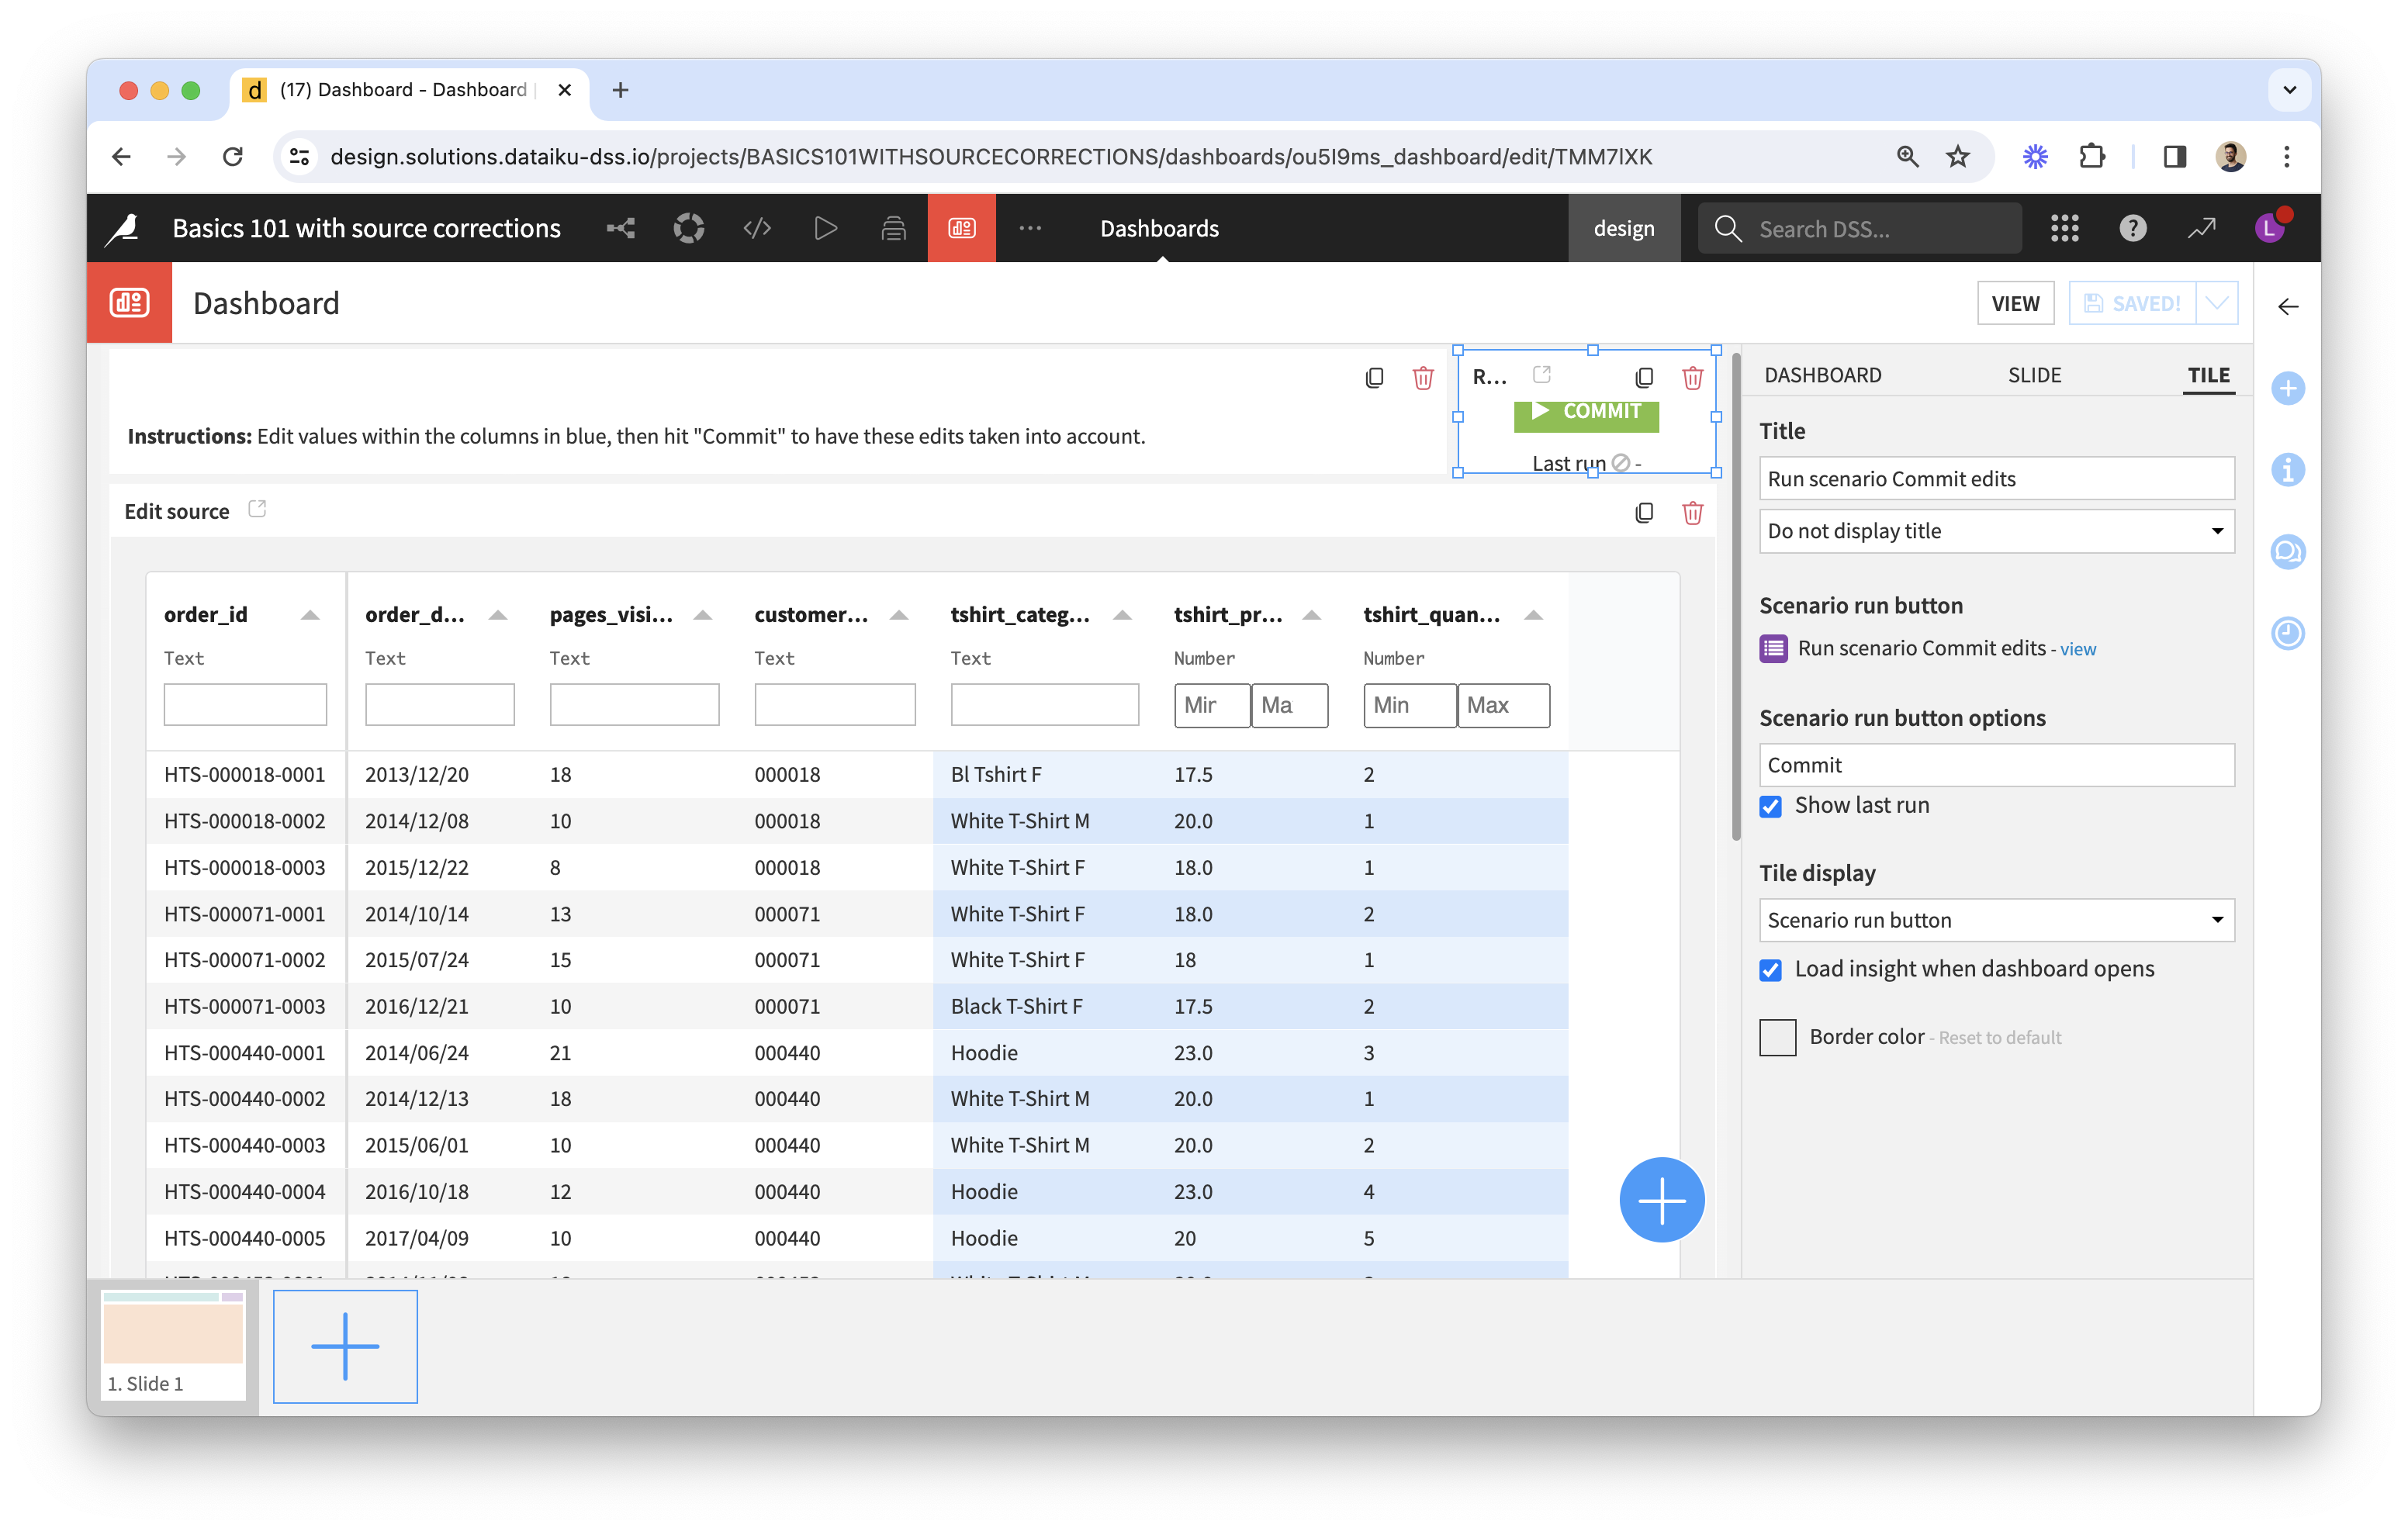
- From the Webapp view, click on the ACTIONS button of the menu in the top-right corner, to publish the webapp to a Dashboard.
- Reporting Dashboard:
- This would consist in charts built from the edited dataset or other datasets downstream.
- It could include a Scenario tile to run the Update Source Scenario.
- It would be accessed by business users via the web, and it could also be scheduled to be converted to a PDF and sent by email via a Scenario.
Make sure to also include a Help page in each Dashboard, with instructions tailored to the end-user on how to use the webapp (see example) or how to interpret the reports.
Important remarks on deployment:
- This Dashboard and its associated link would only be for test purposes.
- Because you’re building a project with an interface where users can enter data which then gets processed, you’ll need to have two instances of the project: one for development and one for production; each will have its own set of edits.
- Once your tests are successful, the next step is to deploy your project on an automation node, or as a duplicate project on your design node.
- End-users must be Dataiku users on a Reader license or above.